The Ultimate Guide to Oak Wood | Oak Wood Information
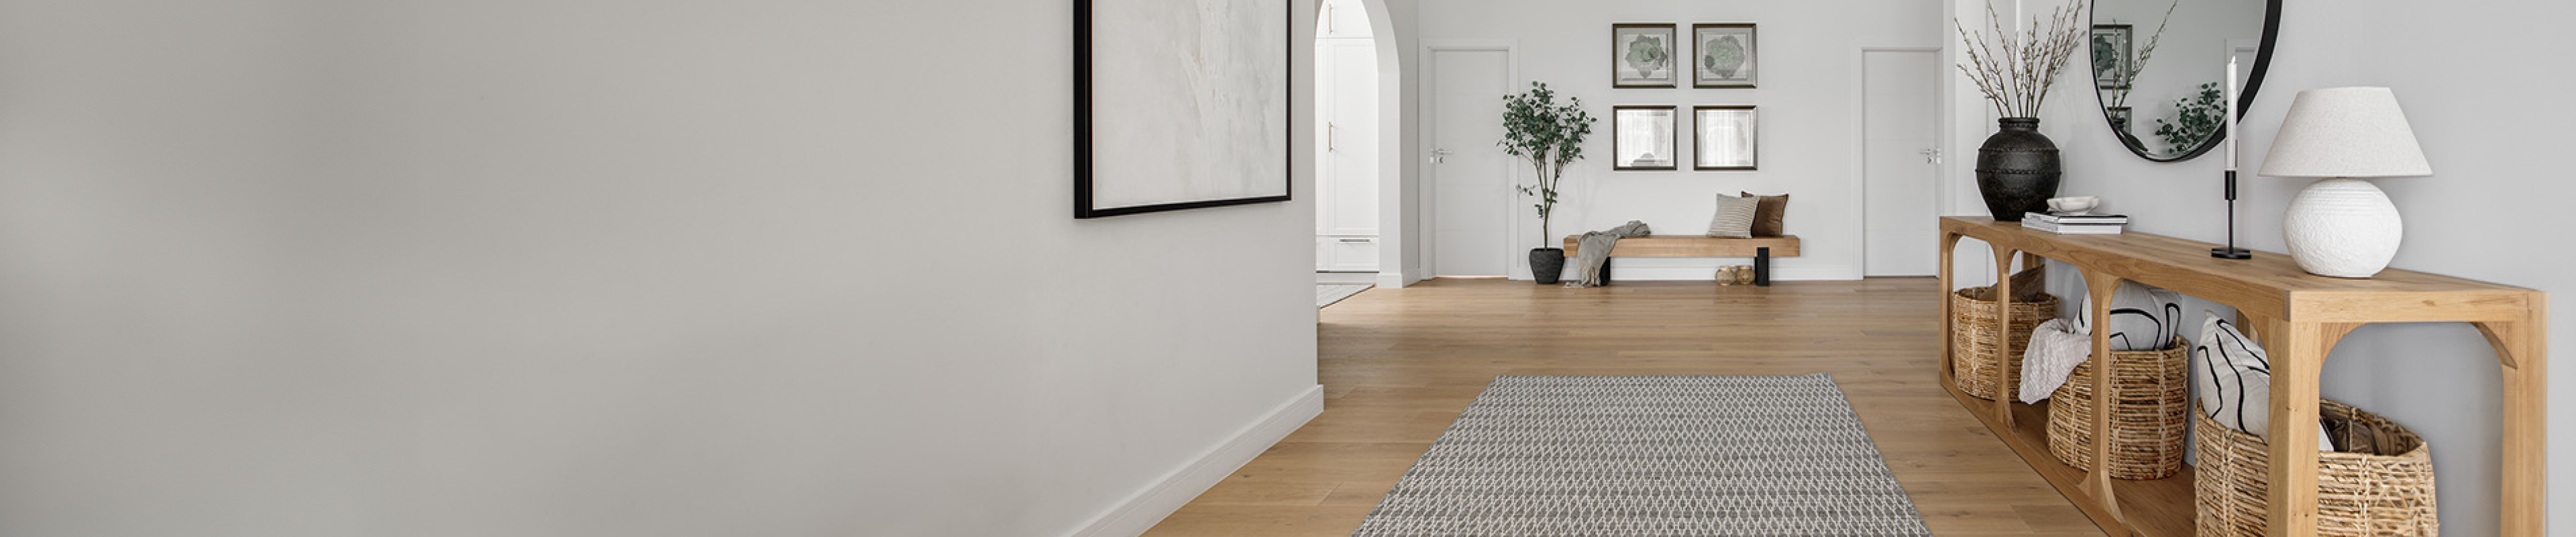
Oak is a popular wood species loved by many for its timeless and luxurious look, bringing warmth, character and elegance to any interior. But how do we cherish this (natural) look, what are the applications of oak and how do you treat this wood species? Read along and find out!
The Natural Look of Oak
What Colour is Oak?
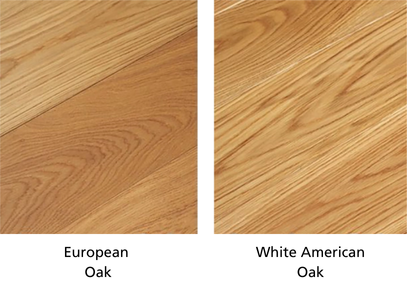
Even though there are hundreds of oak species all over the world, the most commonly-used oak is European Oak and White American Oak.
White American Oak and European Oak are both moderately durable to durable, with a durability class of 2-3.
These types of oak wood have a light, golden brown colour that can sometimes gravitate a bit towards a pink brown. Want to preserve this natural look as accurately as possible? Check our advice for treatment below.
What Colours Go Well with Oak Furniture?
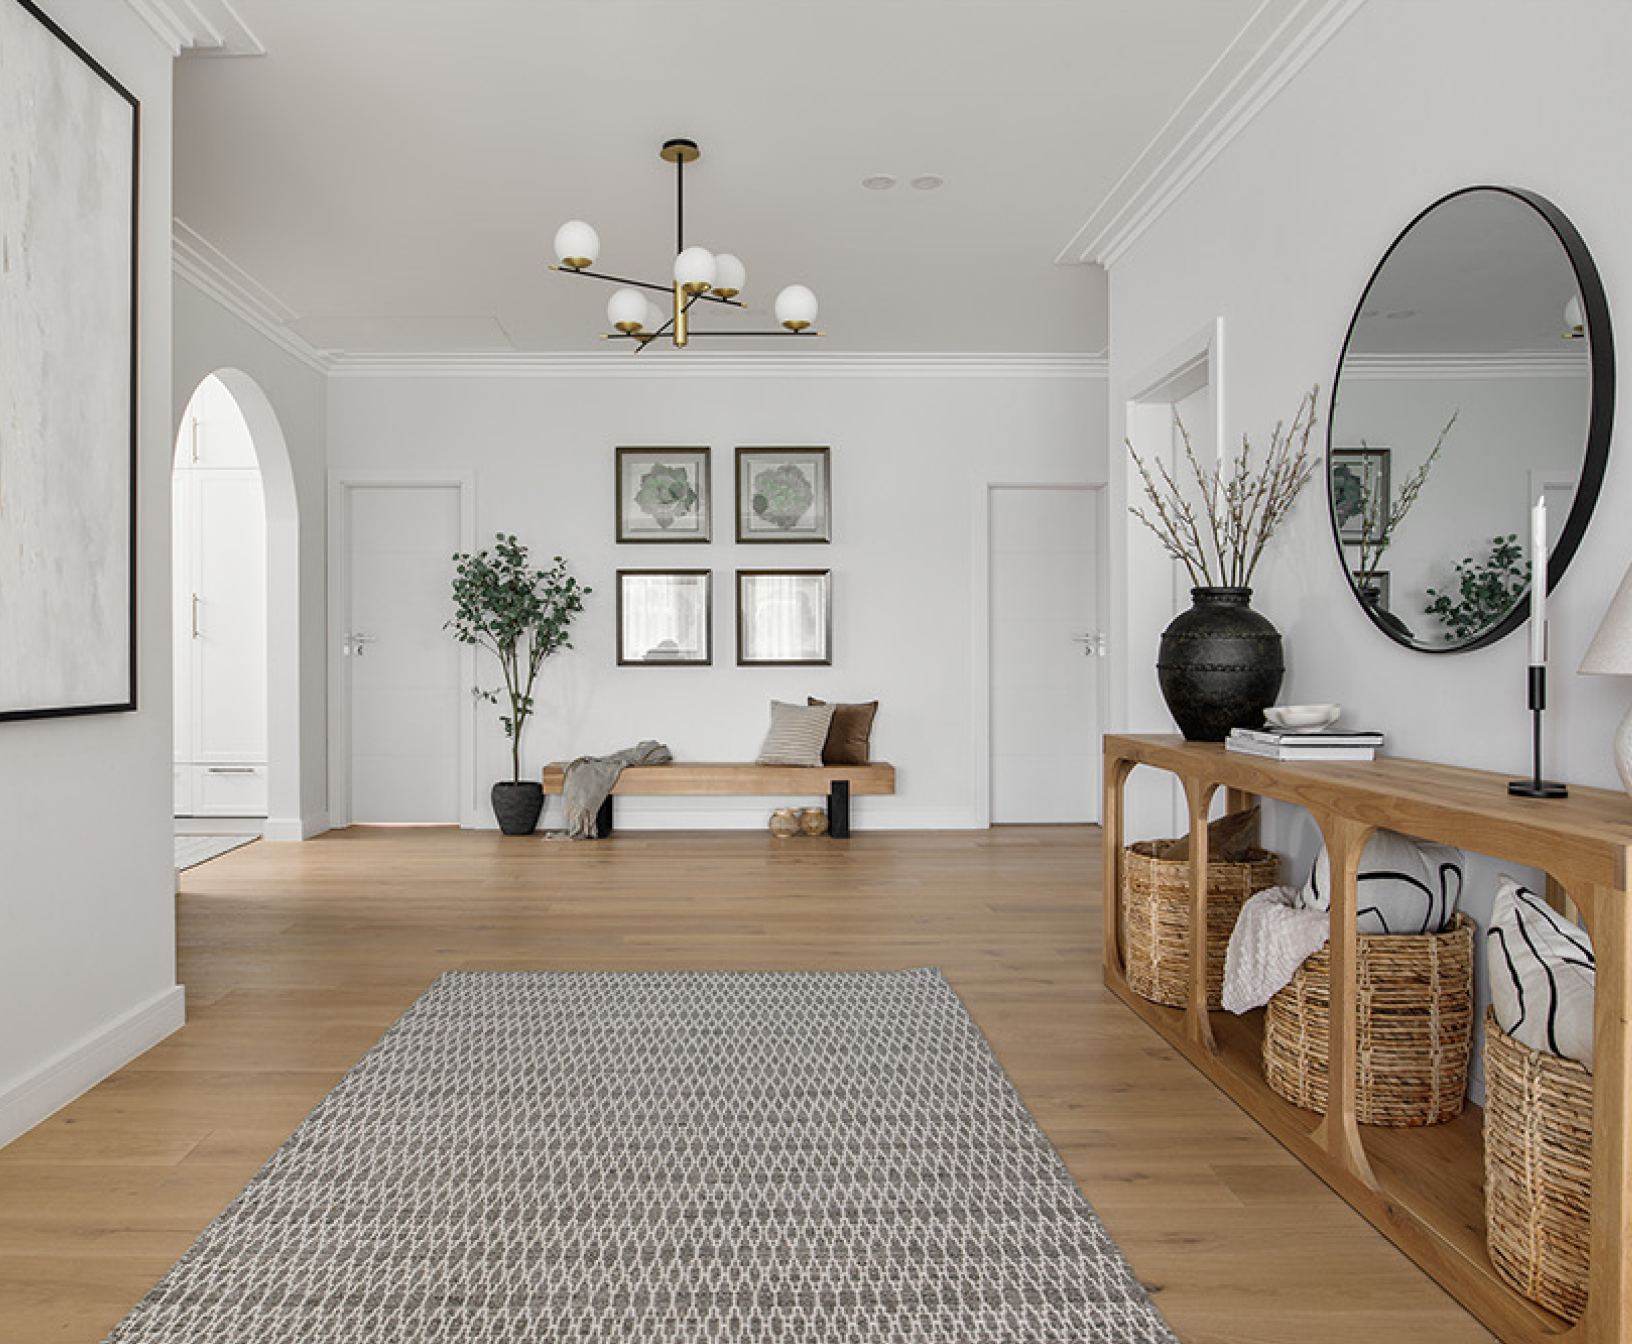
Oak is a very versatile wood species, that can be combined with many different colour palettes, it just depends on the style you want to go for. Below we list some inspiration on how you can integrate oak to obtain different styles in your home.
Warm, earthy tones match well with a modern boho aesthetic. This style is characterised by a combination of the classic elements you can find in the boho interior style, such as rattan, macramé and pillows and rugs with patterns and modern elements. You can see it as an elevation of the boho chic style that was very popular a few years ago, in the sense that it is more minimalist, with clean lines and unexpected modern elements. Oak wood fits perfectly into this style, as light wood is one of the main characteristics of this aesthetic. Here you can combine the oak wood with earthy tones like rust, mustard, sage and olive green, terracotta and peachy pink.
Another very popular interior aesthetic is the Japandi style, known for its use of toned-down, neutral palette. This style is a mix of Japanese minimalism and Scandinavian design, which makes for a very well-organised, clean and peaceful interior. Colours you can expect here in combination with oak furniture or oak floors are beige, warm creamy whites and cool brown tones. To make tis cohesive colour palette interesting, it’s a good idea to play around with different textures and shapes. Warm oak wood can be complemented by soft textiles and smooth walls. Straight lines can be harmonious with organic shapes and form a cohesive, soothing environment.
Colour pops are a fun way to cheer up any interior and you can go as crazy with this as you’d like. If you are into colour but scared to make it look too busy, start with some toned-down, more neutral colours, or opt for pastels to match your oak wood. If you have light oak furniture or countertops and are a bit more of a daredevil, you can also opt for brighter colours: think of sage green, dark green, cobalt blue, Tuscan red/Bordeaux or light pink.
Furniture
Oak furniture is a classic choice for interiors. From chairs to oak tables and cabinets, treating oak furniture with the right finish brings out its rich grain and enhances its durability.
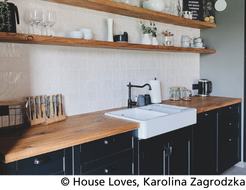
Worktops
Worktops are also a very popular application of oak, but they are more prone to get dirty or wet. The same goes for kitchen appliances like wooden spoons and spatulas, or oak cutting boards. Here, it is best to opt for a finish that is resistant to stains and moisture.
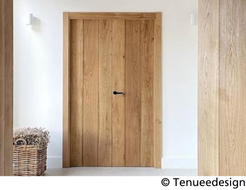
Doors
Oak doors and oak interior panelling are other popular applications of oak.
Prevention is Key! How to Avoid Spoiling your Beautiful Oak
Prevention of Scratches and Dents
Oak is a hardwood, but it can still be scratched or dented. Using protective measures, like felt pads under heavy objects or coasters, helps prevent surface damage.
Guards Against Fading: Prolonged exposure to sunlight can cause oak to fade or darken unevenly. Using curtains or positioning furniture away from direct sunlight can help preserve its natural color.
Prevention of Stains
Liquids: Oak is porous, meaning that liquid spills can seep into the wood if not cleaned quickly, causing stains or warping. Using a sealant or wax finish and wiping spills immediately helps avoid water damage.
Heat and Chemicals: Placing hot dishes, chemicals, or certain cleaning products on oak surfaces can cause stains or damage the finish.
Application: Multiple layers are needed for adequate protection.
Finish: Offers a shiny finish and solid protection against moisture.
Durability: Can be thick, prone to yellowing over time, and often hides the wood's natural beauty.
Maintenance: Requires several layers and a longer drying time, which can make maintenance difficult. Also can obscure your wood’s natural grain.
Application: Spray application or brushing, usually requires 2–3 coats.
Finish: Fast-drying, smooth finish with a glossy look.
Durability: Like varnish, lacquer can obscure the wood’s natural grain, and over time, it can become brittle and crack.
Maintenance: Requires multiple coats and can be difficult to repair without reapplying entirely.
Application: Usually applied before finishing treatments to change the color of the wood.
Finish: Adds colour to wood without covering its grain.
Durability: Stains are not protective on their own and need to be followed by a separate finish, such as a varnish or lacquer.
Maintenance: Does not offer long-term protection and requires additional treatments for durability.
Application: Usually applied before finishing treatments to change the colour of the wood.
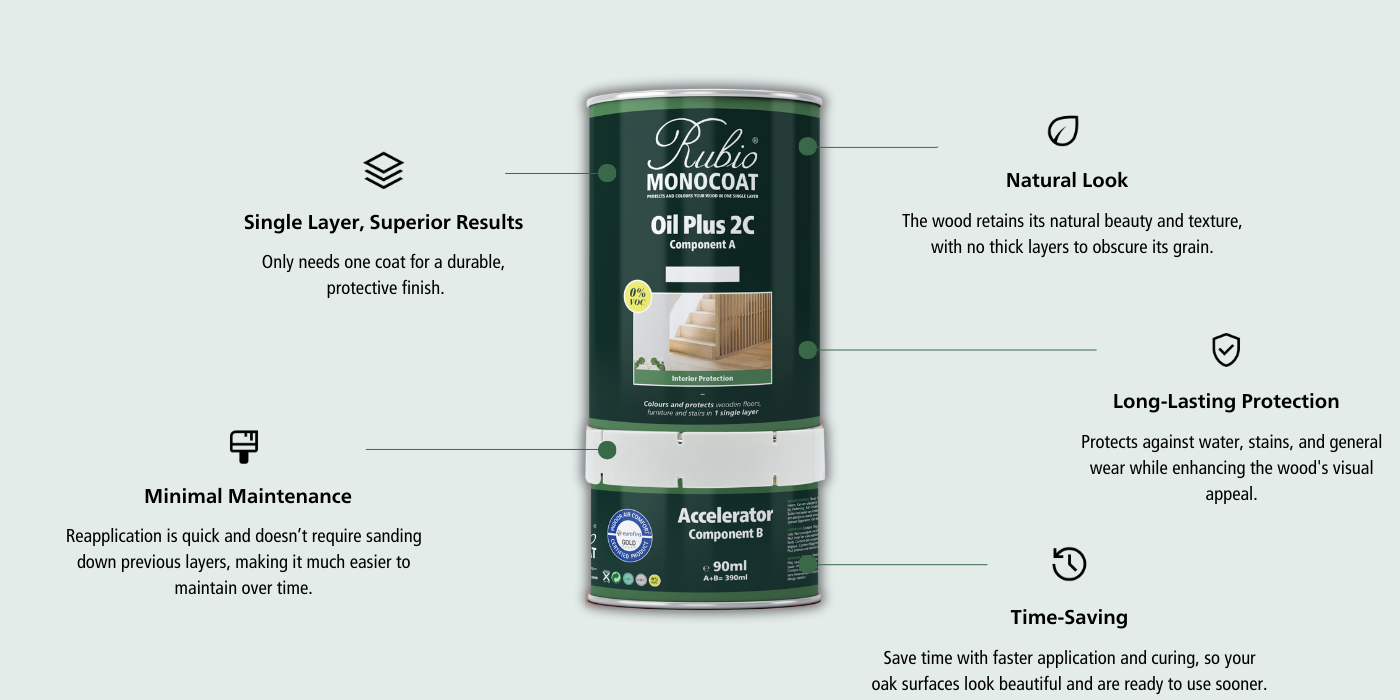
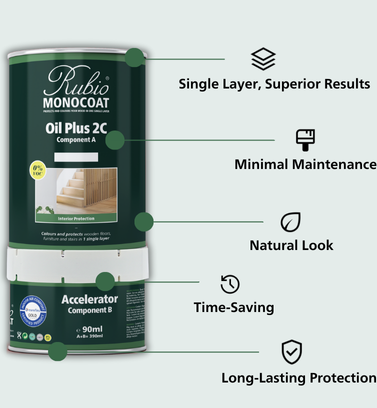
Natural Finish: Preserves the wood's natural look, allowing the grain and texture to shine through.
Durability: Provides excellent protection against moisture, stains, and wear without changing the wood's appearance.
Easy Maintenance: Reapplication is simple and doesn't require stripping down previous layers.
How to Treat Oak Wood?
If this is your first time oiling wooden furniture with our wood oil, or if you want to make sure you’re doing it right, then follow our step-by-step application guide below:
![]() Surface Preparation
Surface Preparation
Begin by sanding the furniture surface evenly to a 150 grit. Clean any dust or debris to ensure a clean surface for the oil to adhere properly. For this, you can use one of our preparation products.
![]() Applying the Oil
Applying the Oil
Apply a thin layer of Rubio Monocoat's Oil Plus 2C evenly across the surface with the Beige Scrubby. The oil is designed to cover efficiently, so a little goes a long way.
![]() Wipe Excess Oil
Wipe Excess Oil
Once applied, spread the oil uniformly using the pad, ensuring that the oil penetrates into the wood grain. Wipe off the excess. After around five minutes, you need to wipe all the excess oil off with a clean cloth.
![]() Allow Drying Time
Allow Drying Time
After application, allow sufficient drying time. Depending on temperature and conditions, this should be between 12-24 hours.
![]() TIP
TIP
For oak furniture with a natural, rich finish, our natural choice of colours are perfect for preserving the grain while offering superior protection. Discover them below.
If this is your first time oiling a wooden worktop with our wood oil, or if you want to make sure you’re doing it right, then follow our step-by-step application guide below:
![]() Surface Preparation
Surface Preparation
Begin by sanding the worktop surface evenly to a 150 grit. Clean any dust or debris to ensure a clean surface for the oil to adhere properly. For this, you can use one of our preparation products.
![]() Applying the Oil
Applying the Oil
Apply a thin layer of Rubio Monocoat's Oil Plus 2C evenly across the surface with the Beige Scrubby. The oil is designed to cover efficiently, so a little goes a long way.
![]() Wipe Excess Oil
Wipe Excess Oil
Once applied, spread the oil uniformly using the pad, ensuring that the oil penetrates into the wood grain. Wipe off the excess. After around five minutes, you need to wipe all the excess oil off with a clean cloth.
![]() Allow Drying Time
Allow Drying Time
After application, allow sufficient drying time. Depending on temperature and conditions, this should be between 12-24 hours.
![]() TIP
TIP
For oak worktops with a natural, rich finish, our natural choice of colours are perfect for preserving the grain while offering superior protection. Discover them below.
If this is your first time oiling a wooden door with our wood oil, or if you want to make sure you’re doing it right, then follow our step-by-step application guide below:
![]() Surface Preparation
Surface Preparation
Begin by sanding the door surface evenly to a 150 grit. Clean any dust or debris to ensure a clean surface for the oil to adhere properly. For this, you can use one of our preparation products.
![]() Applying the Oil
Applying the Oil
Apply a thin layer of Rubio Monocoat's Oil Plus 2C evenly across the surface with the Beige Scrubby. The oil is designed to cover efficiently, so a little goes a long way.
![]() Wipe Excess Oil
Wipe Excess Oil
Once applied, spread the oil uniformly using the pad, ensuring that the oil penetrates into the wood grain. Wipe off the excess. After around five minutes, you need to wipe all the excess oil off with a clean cloth.
![]() Allow Drying Time
Allow Drying Time
After application, allow sufficient drying time. Depending on temperature and conditions, this should be between 12-24 hours.
![]() TIP
TIP
For oak doors with a natural, rich finish, our natural choice of colours are perfect for preserving the grain while offering superior protection. Discover them below.
If this is your first time oiling wooden stairs with our wood oil, or if you want to make sure you’re doing it right, then follow our step-by-step application guide below:
![]() Surface Preparation
Surface Preparation
Begin by sanding the stairs' surface evenly to a 150 grit. Clean any dust or debris to ensure a clean surface for the oil to adhere properly. For this, you can use one of our preparation products.
![]() Applying the Oil
Applying the Oil
Apply a thin layer of Rubio Monocoat's Oil Plus 2C evenly across the surface with the Beige Scrubby. The oil is designed to cover efficiently, so a little goes a long way.
![]() Wipe Excess Oil
Wipe Excess Oil
Once applied, spread the oil uniformly using the pad, ensuring that the oil penetrates into the wood grain. Wipe off the excess. After around five minutes, you need to wipe all the excess oil off with a clean cloth.
![]() Allow Drying Time
Allow Drying Time
After application, allow sufficient drying time. Depending on temperature and conditions, this should be between 12-24 hours.
![]() TIP
TIP
For oak stairs with a natural, rich finish, our natural choice of colours are perfect for preserving the grain while offering superior protection. Discover them below.
How to Get a Light, Transparent Look for Oak
How to Get a Light Oak Finish
One of the biggest reasons why European oak is so popular because it has a rich, naturally light colour to it that blends well in any interior. Which colours are ideal to use on oak to enhance this natural beauty? Find out below!
When you are striving to obtain a natural, almost invisible look on oak, you can choose one of 4 colours in our range. Our colour expert Bruno explains the subtle differences between these colours.
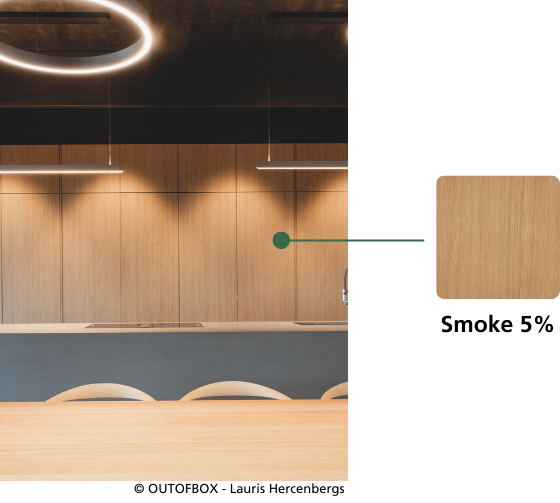
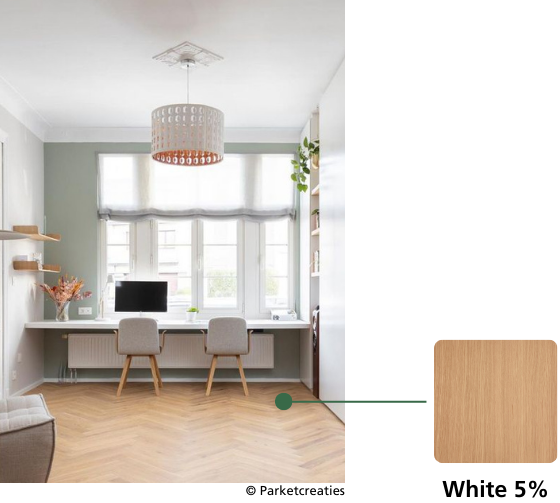
Our Mist 5% is a tad more yellow and lastly, Macchiato gives it a warmer look. You can think of it as a ladder where the higher you get, the warmer the colour of your oak gets, with Smoke 5% being the coolest, and Macchiato giving it the warmest tone.
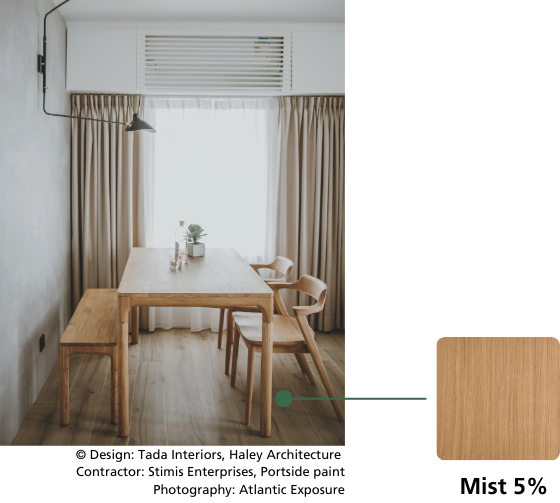
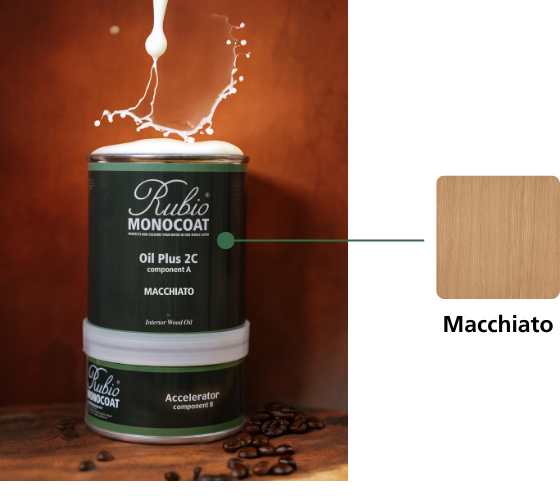
These differences are very subtle, but we understand that the right colour is crucial for the final look of your project. That’s why we always advise to make a sample on a piece of your oak first, because every piece of wood is unique.
How to Remove Dark Stains from Oak Wood
Once the surface is properly prepped and cleaned, it's time to remove the stain. The best products to use for this are our range of stain removers.
Grease Stains = Grease Remover
This is ideal for removing grease, fat, olive oil, frying oil, crisps, oil, heel marks, and floor polish stains from wood. Simply spread a small amount of the remover onto the stained area with a soft cloth and wipe it away.
Black Stains or Circles = Tannin Remover
This is great for removing fertilisers, radiator water, white rings and wine stains. Just apply a small amount of the remover onto the stain and scrub it with a soft brush.
Stubborn Stains = Limespot Remover
Ideal for removing urine, rust stains, and rings/stains from cans and flowers. Apply the remover to a soft cloth and rub it onto the stained area - make sure you avoid over-scrubbing as this can damage the wood surface.
How to Remove Dark Stains from Oak Wood
Once the surface is properly prepped and cleaned, it's time to remove the stain. The best products to use for this are our range of stain removers.
This is great for removing fertilisers, radiator water, white rings and wine stains. Just apply a small amount of the remover onto the stain and scrub it with a soft brush.
Ideal for removing urine, rust stains, and rings/stains from cans and flowers. Apply the remover to a soft cloth and rub it onto the stained area - make sure you avoid over-scrubbing as this can damage the wood surface.
This is ideal for removing grease, fat, olive oil, frying oil, crisps, oil, heel marks, and floor polish stains from wood. Simply spread a small amount of the remover onto the stained area with a soft cloth and wipe it away.
Do you have any questions about your specific project?
Contact our service team!