
How to Properly Sand Wood
Sanding is a fundamental process used in woodworking that significantly influences the quality and aesthetics of the final product.
Sanding is a fundamental process used in woodworking that significantly influences the quality and aesthetics of the final product. More than just a step in the process, sanding is essential for several reasons. First, it removes imperfections, eliminating small bumps and creating a smooth, even surface. Second, proper sanding opens the wood pores, ensuring even oil and color absorption for a consistent finish. Third, for already treated wood, sanding removes the previous treatment, ensuring good adhesion for new treatments.
A well-sanded piece of wood not only looks visually appealing but also feels smooth to the touch, highlighting the craftsmanship and effort involved. Proper sanding techniques are crucial for achieving this level of finish. This article will guide you through effective sanding practices, essential tools, and more.

Understanding Wood Grain and Sandpaper Grits
The concept of wood grain plays a big role in effective sanding. Wood grain refers to the orientation of the wood fibres found in different cuts of wood, and it varies depending on the type of wood and how it is cut. Different grains (like straight, spiral, interlocked, or wavy) react differently to sanding. Being able to identify the grain type is useful because sanding against the grain can lead to scratches and an uneven finish.
Sandpaper grits are categorised by their coarseness level, with lower numbers indicating coarser grits. Coarse grits (like 60 to 80) are ideal for removing old finish or rough material, while medium grits (100 to 150) are suitable for initial shaping. Fine grits (180 to 220) are used for final smoothing. Ultra-fine grits (above 220) are typically used for finishing touches and between coats of paint or varnish.
Essential Tools and Safety Measures
The essential tools to gather when learning how to sand wood include different grits of sandpaper, a sanding block for hand sanding, and sanding machines for larger projects. Each tool has its specific application, and choosing the right one can significantly affect the outcome. Smaller jobs will benefit from hand sanding as it allows for finer sanding, whereas sanding machines can make bigger jobs much easier to take on.
Safety is paramount in sanding as the process kicks up a lot of debris. Always wear protective goggles to shield your eyes from dust, a dust mask to prevent inhalation of fine particles, and ensure proper ventilation in your workspace. Also, consider wearing gloves to protect your hands from splinters and prolonged vibration from power sanders.

The Importance of Dust Extraction
Dust extraction is an often overlooked but critical aspect of sanding. Effective dust extraction not only makes the sanding process more pleasant and healthier but also significantly improves the results. By reducing the amount of dust in the air, you create a cleaner work environment, which is crucial for your health and comfort. Inhaling fine particles can be harmful, so minimizing airborne dust is essential for maintaining good respiratory health.
Moreover, dust extraction enhances sanding efficiency. A dust-free surface allows the sandpaper to make better contact with the wood, increasing its sanding capacity. This leads to faster and more effective material removal, saving you time and effort. Additionally, keeping dust away from the machine's working parts can extend its lifespan, ensuring it remains effective for longer periods.
Another benefit of proper dust extraction is the reduction of sanding scratches. Dust particles can get trapped between the sandpaper and the wood, causing scratches and an uneven finish. By effectively removing dust, you ensure a smoother surface, which is vital for achieving a high-quality finish.
Step-by-Step to Properly Sand Wood
Next, we’ll go through the steps you’ll want to take to properly sand wood. So take a look below:
- Preparation:
Begin by cleaning the wood surface. Remove any dust, debris, or remnants of previous finishes. This step helps to ensure that the sanding process is effective and that the sandpaper does not become clogged with particles.
- Choosing the Right Grit: Knowing what sandpaper to use for wood can make the job much more effective. Selecting the appropriate sandpaper grit depends on the wood type and the project's requirements. Start with a coarser grit to remove imperfections and gradually move to finer grits for a smooth finish.
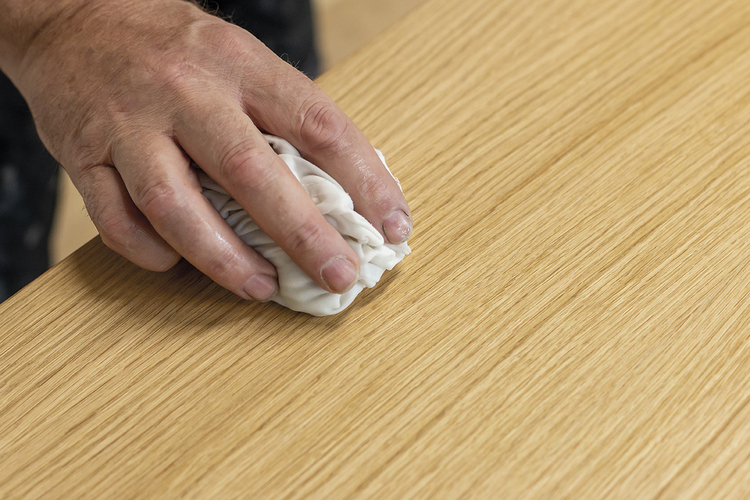
- Techniques for Hand Sanding:Hand sanding gives you control and precision. Use a sanding block for even pressure and sand in the direction of the grain. The motion should be consistent and smooth, covering all areas uniformly for the best finish.
- Using Power Sanders:
Power sanders, like orbital and belt sanders, are excellent for larger projects. They save time and effort but require experience to control. Keep the sander moving to avoid creating depressions in the wood.
- Progressive Sanding:
Progressive sanding involves moving from coarse to fine grits sequentially. This technique eliminates scratches from coarser grits and prepares the surface for finishing.
- Checking for Smoothness:
Periodically check the wood's smoothness by running your hand over the surface. Another method is to use a light source at a low angle to reveal imperfections not easily visible to the naked eye.

Tips and Tricks for Effective Sanding
For a professional finish, maintain consistent pressure and sand evenly across the surface. Change sandpaper frequently, as worn-out sandpaper can cause more harm than good to the wood. When using power sanders, let the weight of the tool do most of the work to avoid gouging the wood.
Troubleshooting Common Sanding Problems
Common sanding problems include swirl marks, scratches, and over-sanding. Swirl marks, often caused by power sanders, can be prevented by keeping the sander moving and not applying too much pressure. Scratches from sanding against the grain can be avoided by following the grain direction. Over-sanding, which thins down the wood excessively, can be avoided by regularly checking the wood's thickness and smoothness.